What is a race friendly core support anyway? Well, I’m not really sure. What I do know is if you want to run a V Mount intercooler and radiator setup then you are going to need some room. The stock bumper beam, upper core support, and lower brace just don’t allow the freedom one needs to run enough radiator or intercooler. As for the bumper, well it was only attached by the sides so we decided to make some more room, make it stronger, and add lightness.
This project actually started a few nights ago. We laid out some general plans based on what it was we were trying to achieve. Intercooler and radiator fitment allow for easy to service and maximum cooling. We also didn’t want to lose any chassis rigidity. When considering chassis mods take into account the actual forces being applied otherwise you might be adding strength and weight with no real benefit. Despite my wifes beliefs about my memory abilities, I was able to reach in and pull some helpful ques from my past.
Corolla lovers, the RWD type from the 80’s, not the newer corollas of today, are big on hanging on to that front bumper or even replacing it with something better to aid in chassis strength. Perhaps it’s an attempt to bring out the inner Takumi or delivery driver, but I just don’t think anyone would have one of these tossable cars and not drive it. They know about chassis torsional flex and do a lot to avoid it. That’s a lot of words to say, we need to keep the strength in the lower bar. To improve on it even more, I pulled a que from Lou, former host of Muscle Car. Well he too was a stickler for chassis rigidity which resulted in chassis tricks for all sorts of unibody and frame based cars. He would basically trim out enough of a factoy connection and place strong tubing or box in key flex areas. I also thought back to a Trucks episode where they shortened a frame and rather than cut it straight, they cut down then over then down again to maximize te welding area. Whoever said you can’t learn something by watching tv?
Finally, I used one more as seen on tv method from Trucks. When Stacy David was building that bronco there was a ton of fabrication work to do. To maintain the Broncos angles and alignments he would temporarily weld stock to whatever he was working on then replace the rusted pieces following up by removing the temporary welded in piece. That being said we did the bumper first.
Realize the bumper beam that was on there is an easily twisted flimsy piece that didn’t have many mounting points for the bumper cover. We replaced that with a piece of square stock and for serviceability instead of the four bolts which require a 17mm wrench, we placed studs coming out the front. Now there are only two nuts to remove. The nut takes a 14mm socket much like all the exhaust bolts as well as many other bolts on a Subaru. Once the new bumper mounting points were chopped up, welded, and cleaned, we bolted the new beam in place with the two stock Subaru nuts.
For the lower bar, cutting out the stock support, notching, welding, checking for levelness and evenness side to side it was going well. We then cut some small plates to fill in the hole left by removing the lower support added some gussets, then checked for flex. Well, it doesn’t twist its lighter and relocated to allow a lot more room for the radiator. Considering I don’t do much fabrication, this turned out incredibly well, better than I was hoping for actually.
Once the lower beam was completed, some tabs were added to allow for easy bumper mounting.
Read more about the car here on James’ Blog.
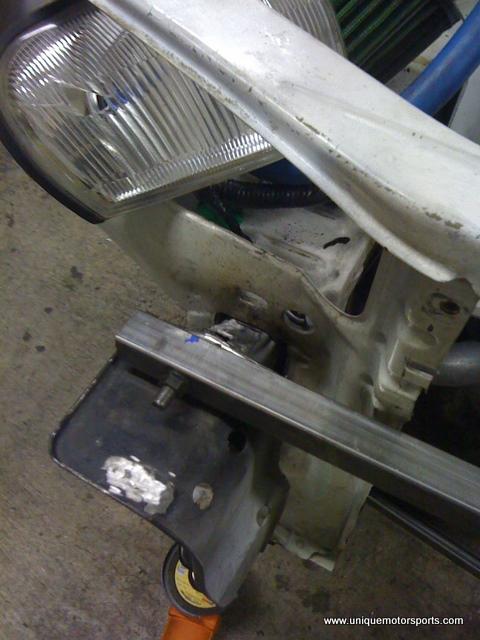
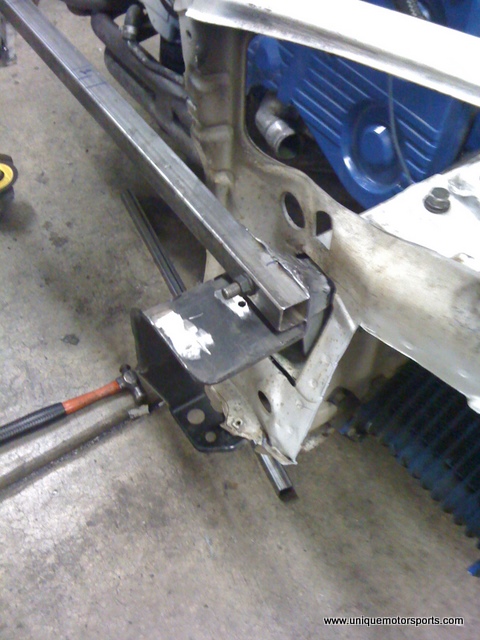
New lightweight bumper beam bolted in place using stock Subaru bolts
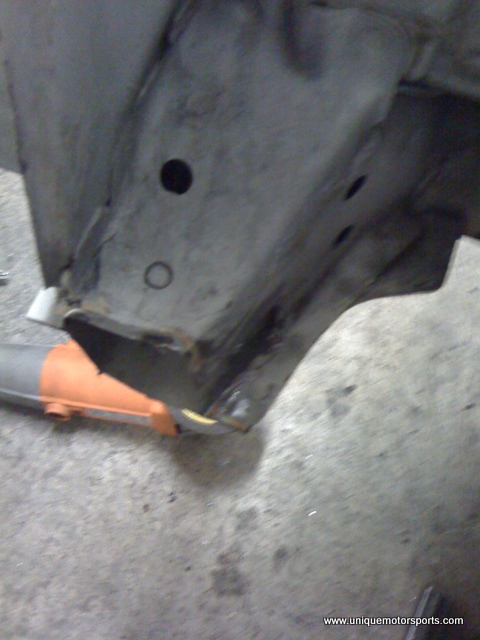
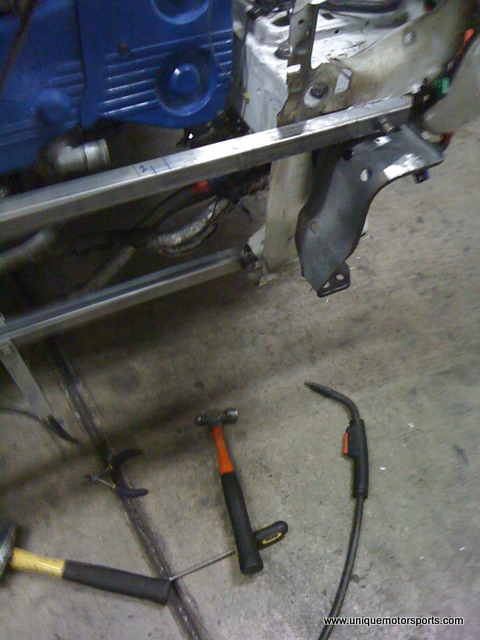
Cut lower support bracket
Notched for three quarter inch square stock
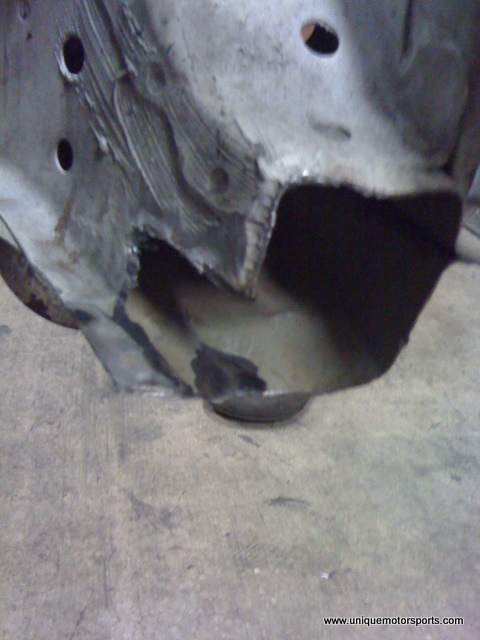
Closer view of notch
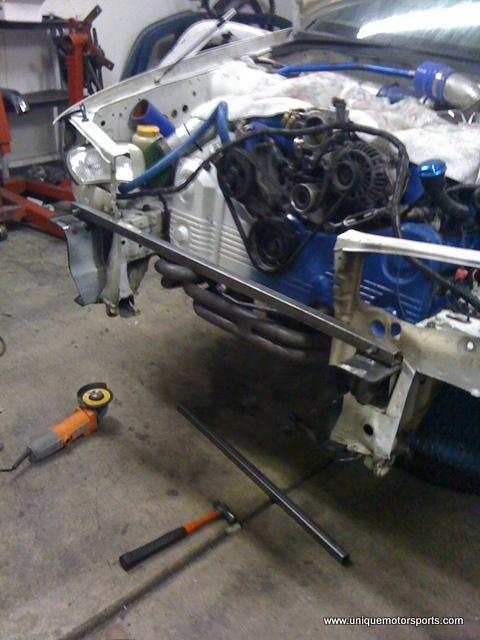
Front view showing the lightweight beam in place
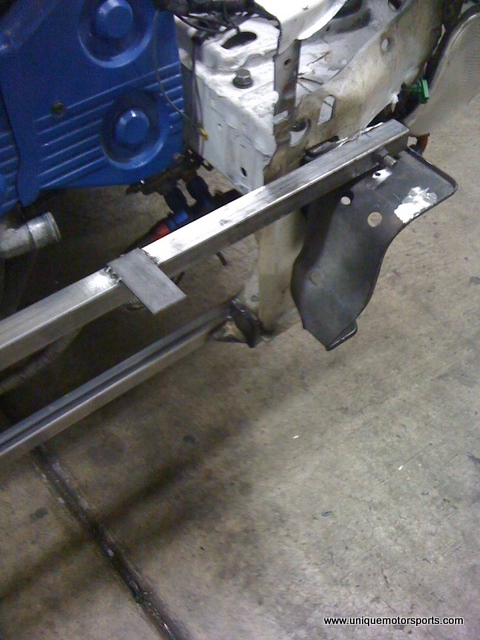
Cleaned up the stock bumper bracket
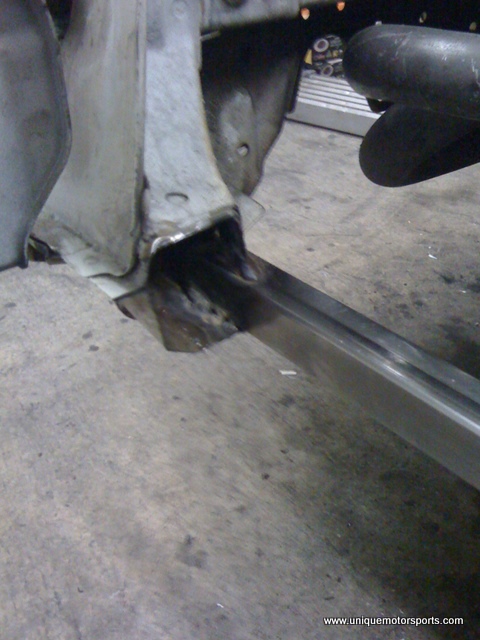
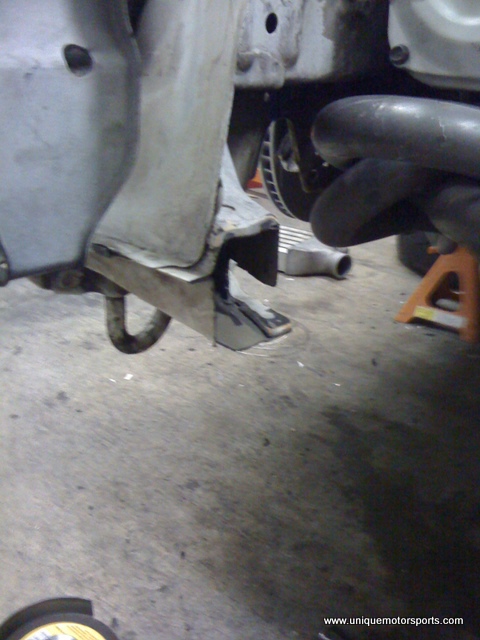
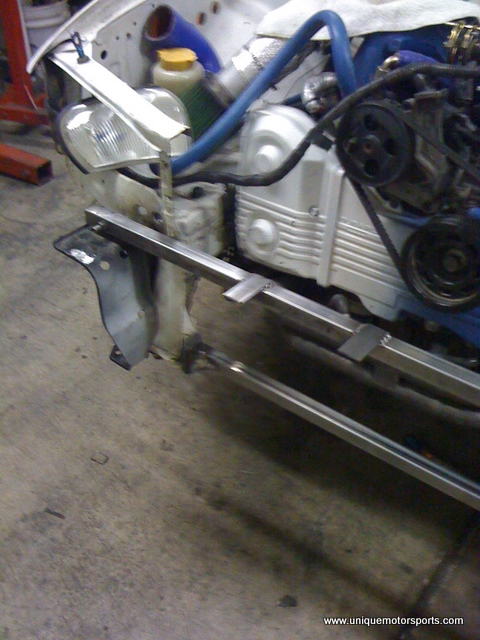
Lower beam welded into place
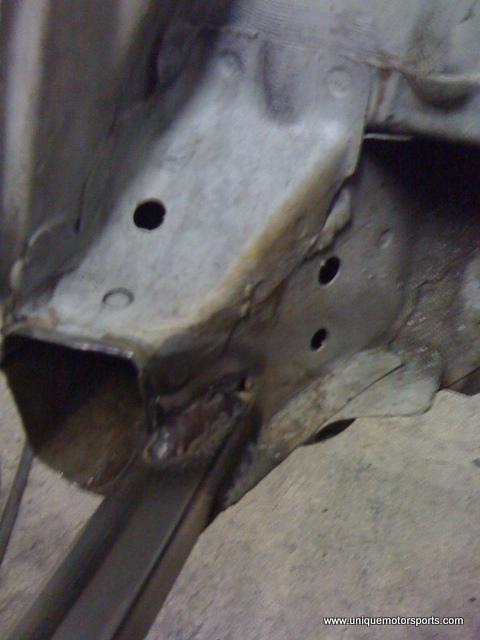
Upper weld could have been better
Another view of the new bumper and lower beam
Tabs for the bumper cover
Another bumper tab, needs to be threaded. Also notice the lower end caps.
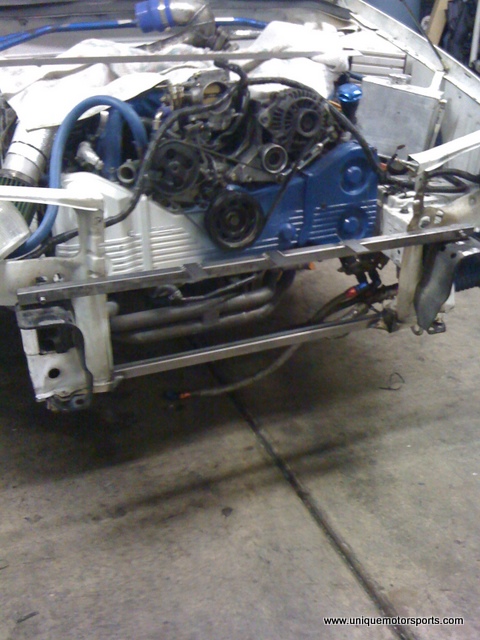
Front view showing the new front end