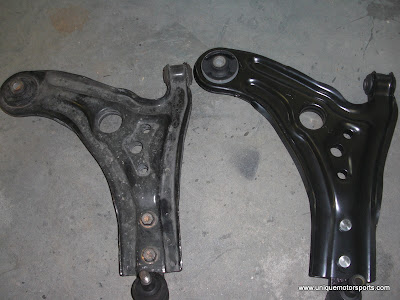
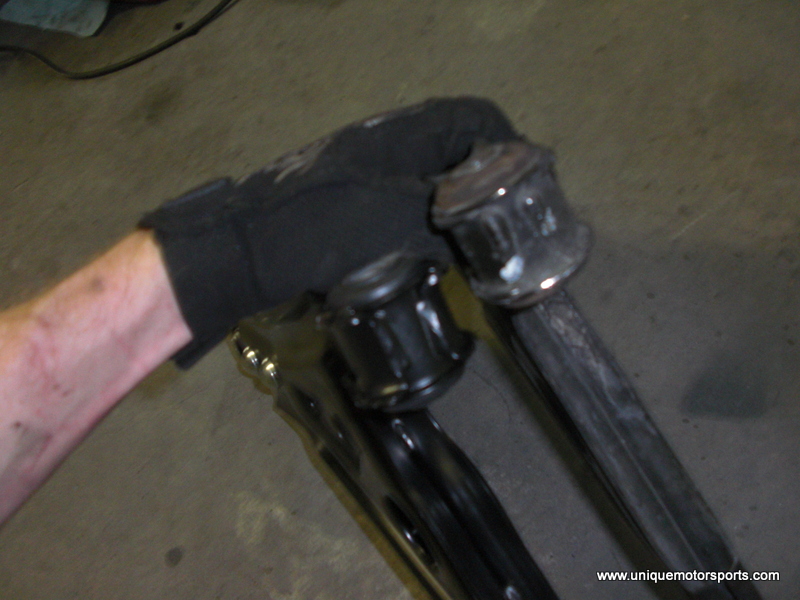
Stock on the left Raybestos on Right – They look remarkably simlar
It has probably been about 40,000 to 50,000 miles since replacing the front control arm bushings and with the clunking coming back and general sloppiness in the front of the car I decided to do them again. This time however when looking into pricing, I realized I can get new set of Raybestos Control Arms from Rock Auto for about $100 shipped. A cheaper set could be had for around $65, but after looking into the parts, I decided to go with the Raybestos brand. I’m glad I did, the build quality is pretty good though admittedly I can’t speak for the cheaper brands.
With that said, other than a stripped bolt which I didn’t cover in the picture set, the install went pretty well. After putting some miles on the new control arms, complete with bushings and ball joints, I’m impressed. The car definitely feels better and I’m looking forward to getting the new tie rods, struts and top hats in.
Parts
Raybestos Control Arms with bushings and ball joints – 5071593 and 501594
Tools
- 17mm wrench
- 19mm wrench
- 17mm socket
- 19mm socket
- Torque wrech
Enough typing, this is not actually meant to be a how to, but you can see the entire process in the image captions below.
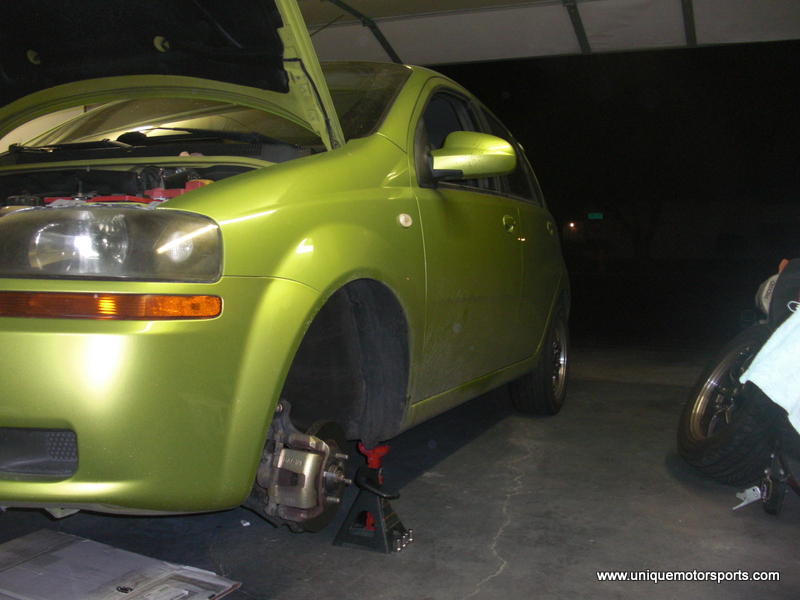
Tire Removed, front lifted

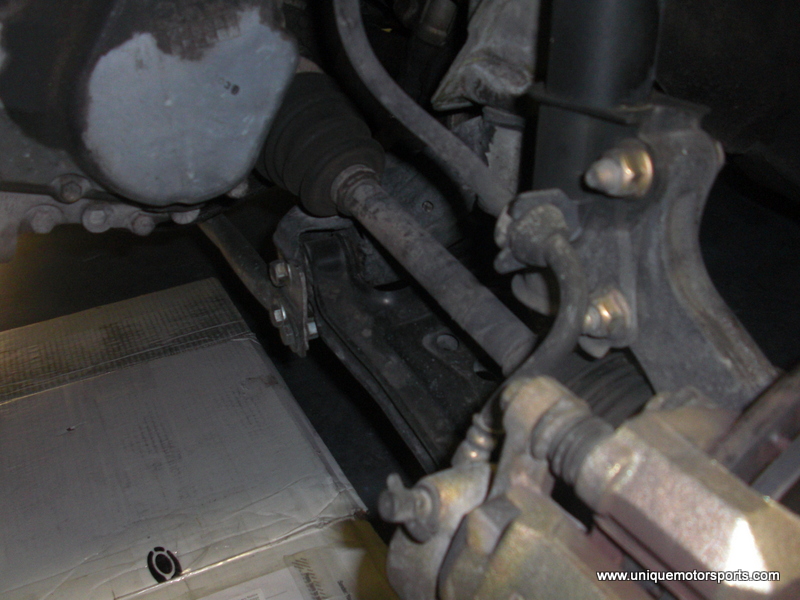
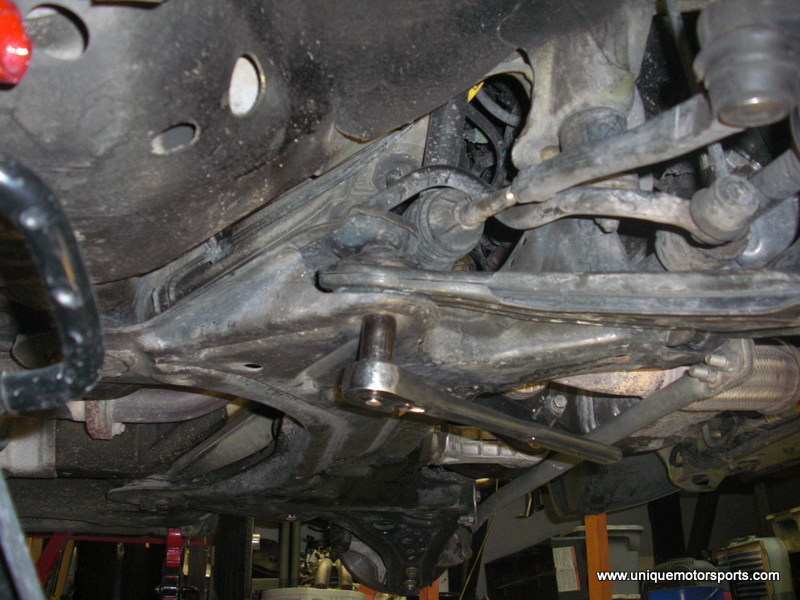
Old control arm , shows the bad bushing and also bad tie rod

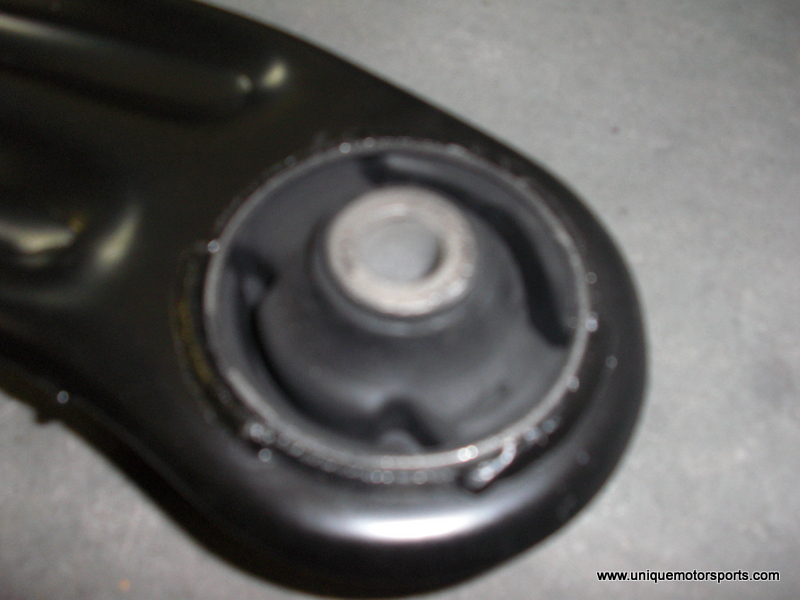
Wore out bushing
Front part, also showing cheap control arm brace

ball joint.. and my foot
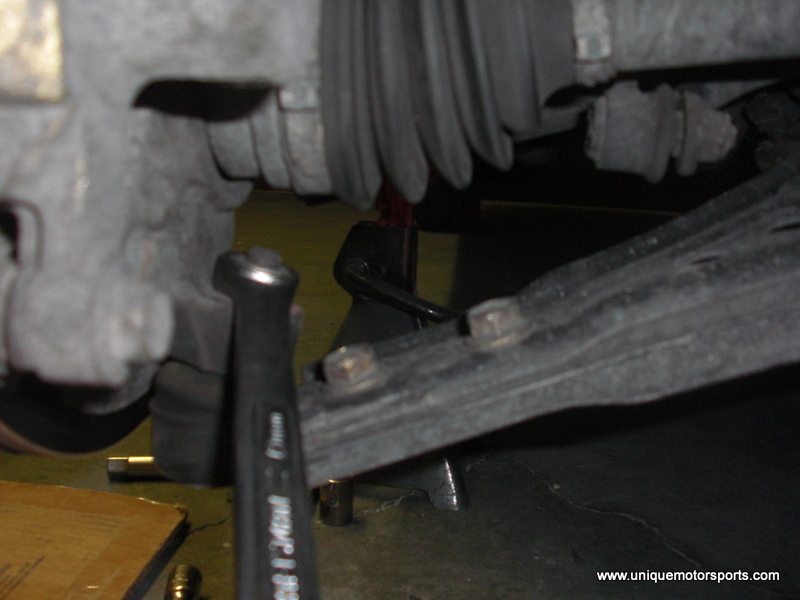
Ball joint – torque specs 47 lb ft

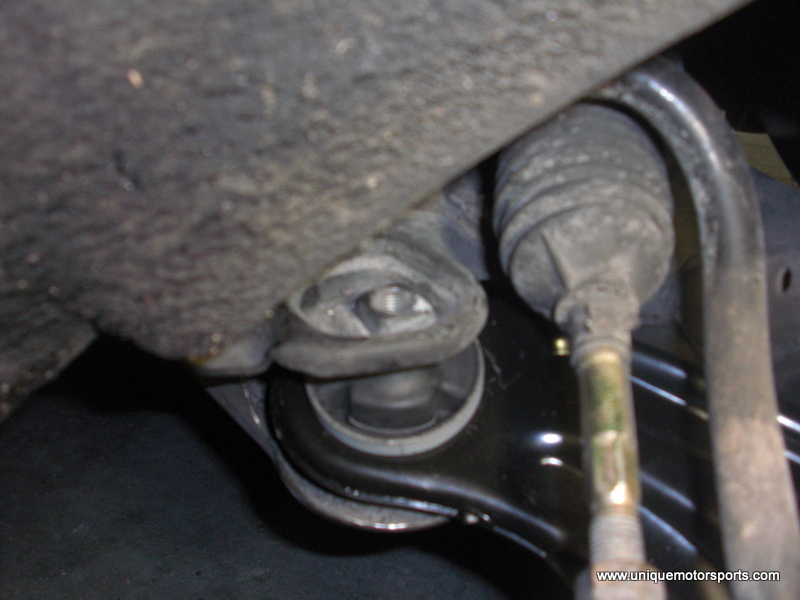
Removing passenger side control arm – 81 ft lb
Removing rear bolt – 81 lb ft

Tie rod – 33 lb ft

Stock on the left Raybestos on Right – They look remarkably simlar

looking at the bottom

Camera is not great… close up of bottom of ball joint
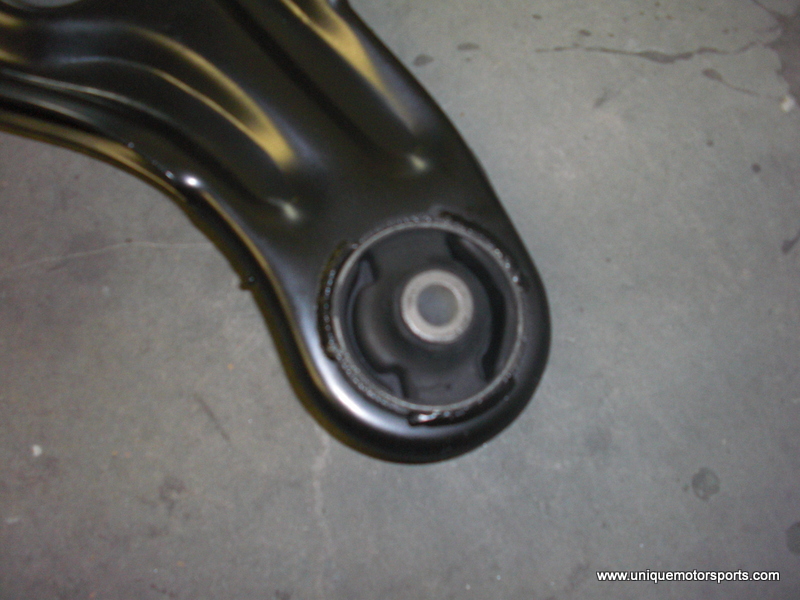
New Blurr shot of the rear bushing

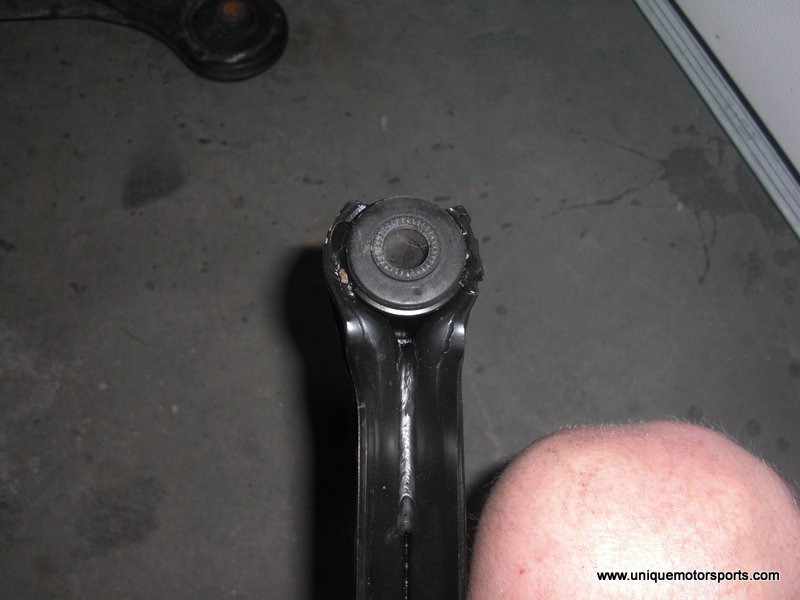
The other side, welds look good

Note – Raybestos aveo control arm is seam welded, OEM is spot welded.

Rear bushing
Looks remarkably similar to the OEM parts
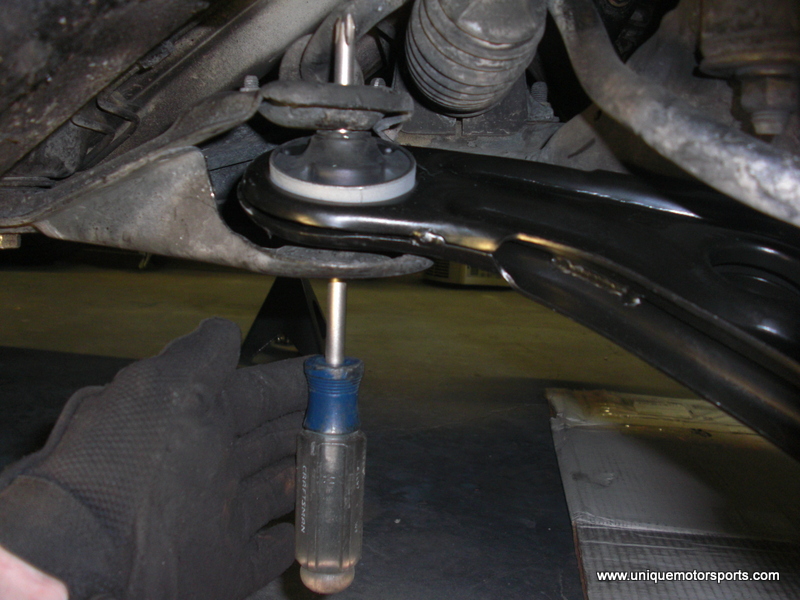
Trick to line up the bolt holes.
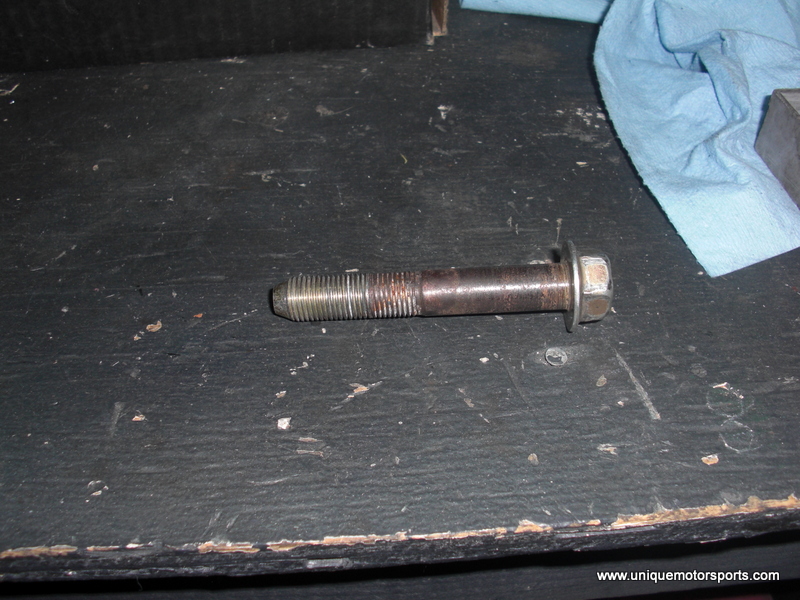
Rear bolt
Control arms going back in
The other side, welds look good
Note – Raybestos aveo control arm is seam welded, OEM is spot welded.

Rear bushing

Looks remarkably similar to the OEM parts

Trick to line up the bolt holes.

Rear bolt

Control arms going back in