Aveo Motor Mount – Round 1 – Transmission Mount
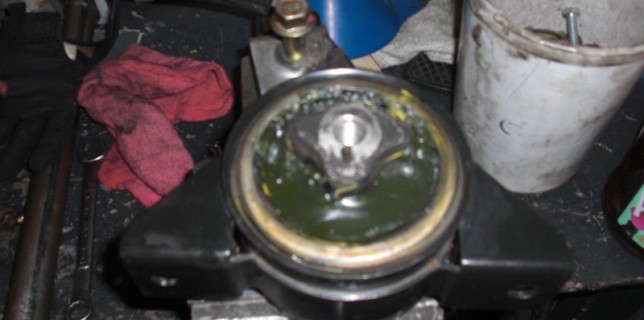
Generally, this would come before round 2, but that doesn’t always work out. At any rate, here are the pictures from filling the transmission mount.
Cars, Tech, and Other Ramblings
Generally, this would come before round 2, but that doesn’t always work out. At any rate, here are the pictures from filling the transmission mount.
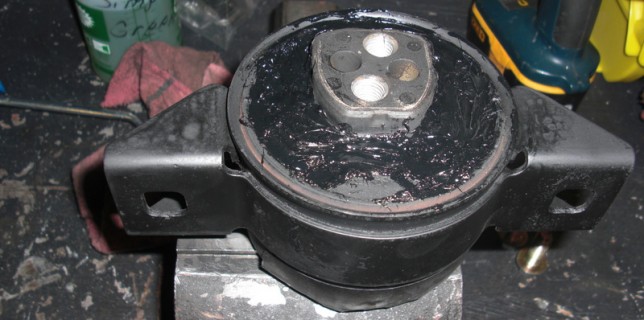
Ordered a “new to me” Aveo motor mount which I could properly fill with some 3m Window Weld. 3m window weld is a great alternative to polyurethane motor mounts if you do not have the money for polyurethane or if Continue reading Aveo Motor Mount Filling Take 2
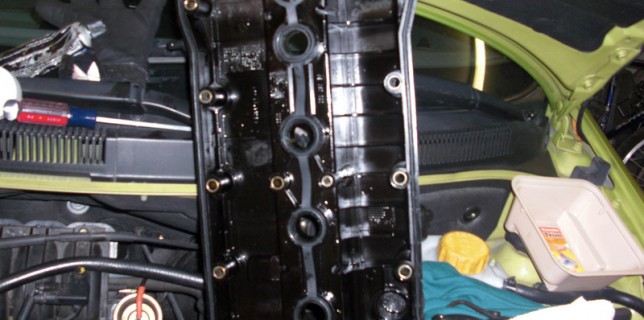
With around 75,000 miles, I started getting some excessive oil around the valve cover base. I had a full blown oil leak where the valve cover protects the spark plug galleys from getting any oil in them. This made for Continue reading Replaceing an Aveo Valve Cover Gasket – December 2010
Some of the pictures between part 1 and part 2 will be mixed up and possibly even duplicated. I was more concerned with working on the car than having an impeccable photo collection. Now with that said, here is a Continue reading Project Resurrection Interior Cleaning – Part 1
It’s now 9:36 on a Friday night and i just finished repairing a bathroom vent fan. Call me domestic and put a beer in my hand… Except I don’t drink beer. The fan sounded as though a rodent was stuck Continue reading Todays New Talent – Fixing a Bathroom Vent Fan